So I added a set of pulleys in the middle that reduced the speed, and kept the splashing water away from the motor. I also added some guard covers made out of Wal Mart blue wall guard, which worked amazingly well. It was easy to work with, fully bendable, and yet sturdy enough to keep the belts, pulleys, and innards away from paws and fingers.

Treadmill with blue plastic "finger and paw" guards on it. If you look closely in the background you can see the water tank in the background.

Other side of the treadmill where you can see where the power cord comes out of the treadmill, along with the splash guard for the motor.
So far I had spent about seventy dollars. Thirty three on the treadmill itself, another ten on the misc screws and bolts to hold it together, twenty on the aluminum, and the blue plastic was donated from work with my boss's permission once he heard what I was trying to build. A few dollars were probably also spent on beer that was consumed during the construction process.
After I had the base built, I measured it to find the appropriate tank and went to a local big box farm supply store and bought a water trough that was big enough for the treadmill to sit inside. At 260 dollars it was by far the most expensive part of the project, and also the part I am still the least happy with.
My store bought water tank leaks. After I found that out, I took everything out, dried it, and used silicone to no effect, plumbing goop to no effect, and even that black stuff that comes in an aerosol can where they show the guy standing in a boat with a screen door in the bottom where it is sealed up and floating... Yeah, they should put on those cans, "Your results may vary."
Also, being a metal walled water trough there is no door for the Austin to walk in from, so he needs to be lifted in, which he is not overly fond of. The reason I put up with it initially is because I thought I would have a better chance of the unit being water tight if it didn't have a door in it, but apparently that's just too much to ask.
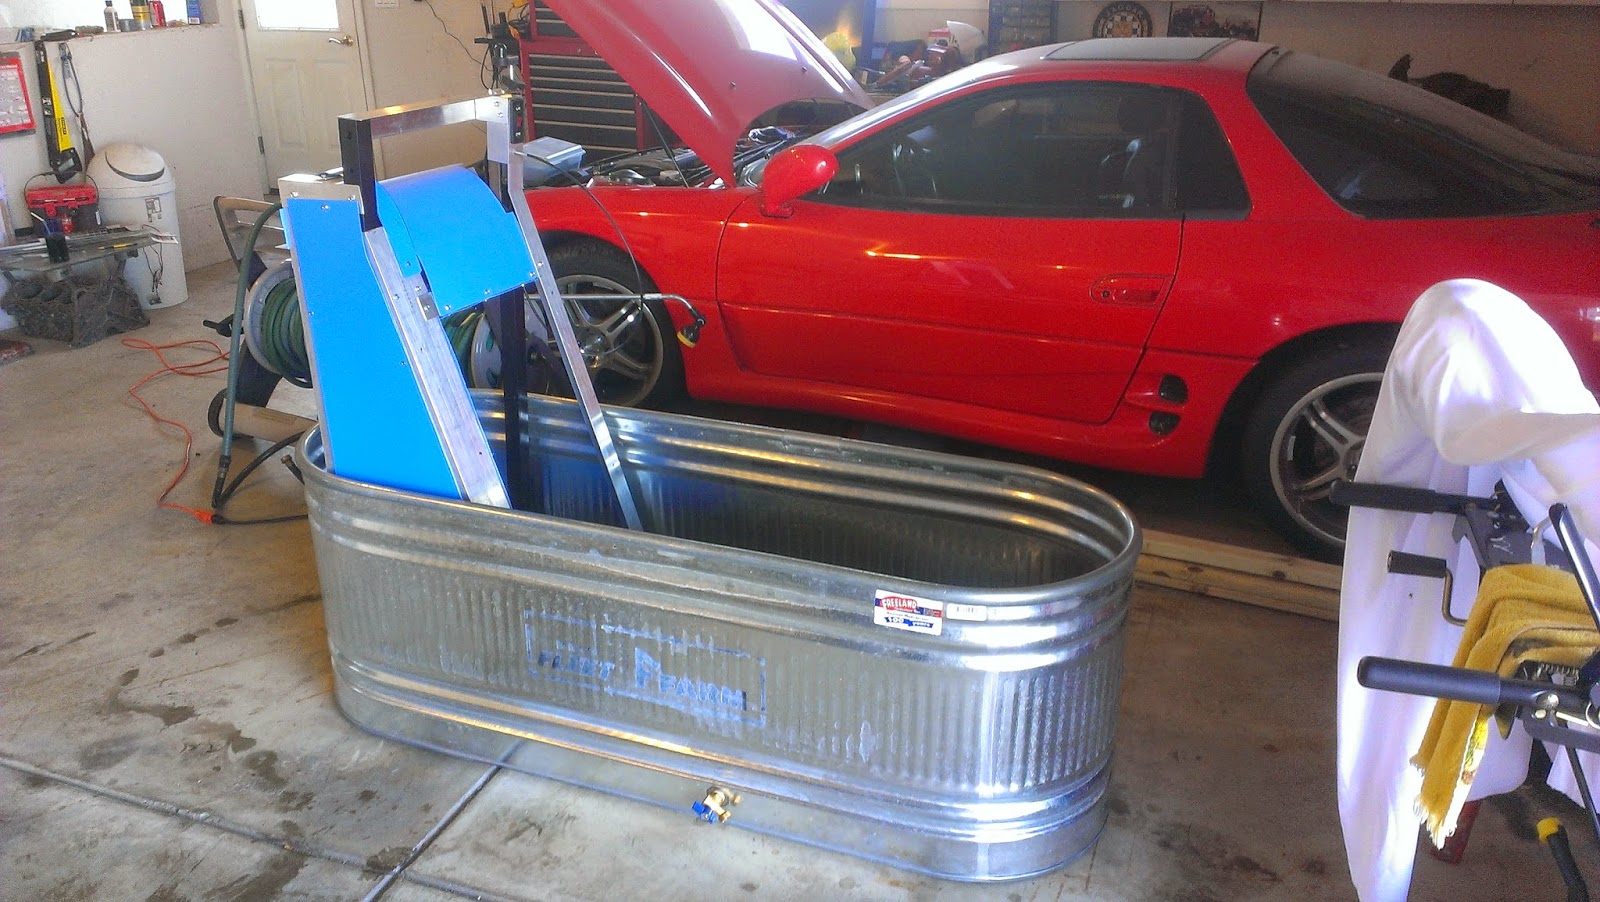
Treadmill in the tank. Note the drain valve on the lower side of the tank. Simply attach a hose and the water can be drained wherever you like it.

Other side of the underwater dog treadmill

Here is a picture of the inside of the DIY underwater dog treadmill in the tank waiting to be used.
Thank you for sharing. I am lost as to how, you made the treadmill 'waterproof'?
ReplyDeleteThis is absolutely brilliant. How did you make the treadmill Waterproof?
ReplyDelete